Warning LED's indicating both low generator and cartridge content can mean your smoke generator has not been recognised. The following steps will guide you on how to solve the fault and get the unit back up and running.
1.
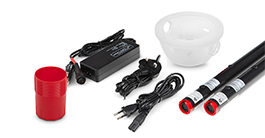
Turn the unit off and remove the battery, smoke cartridge and smoke generator.
2.
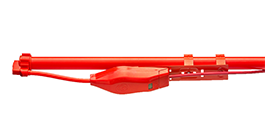
Clean the gold contracts inside the generator housing on your Solo 365 using an anti-static lint-free cloth or wipe.
Allow the contacts to dry thoroughly.
3.
Carefully re-insert the smoke generator, then the smoke cartridge and finally the battery. Ensure the clips engage securely for each component, and especially for the generator.
Press and hold the generator down firmly for a few seconds to "seat" the generator. When inserting the smoke cartridge, retain the pressure on the back of the cartridge for at least 3 seconds to ensure a secure fit.
Switch the unit on.
4.
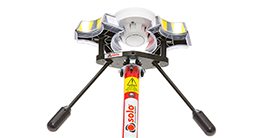
With the front of the unit facing you, cover the inside right of the cup that joins the yoke (where you can see the clear plastic lens). This will start a smoke test sequence for 2 minutes or until you remove your hand. Smoke should be produced during this time, but repeat 3-4 times if not successful.